Images
Images in OpenStack are used to provide the operating system for your instances. By default, we provide only a few selected images in the cloud to use for everybody. As mentioned in the documentation for configuring your instance it is possible to upload your own images to create instances from.
Uploading custom images
To upload your own image using the dashboard navigate to the Images page found under the Compute
category on the left. Here you can see all public images alongside your own images or images
shared with you.
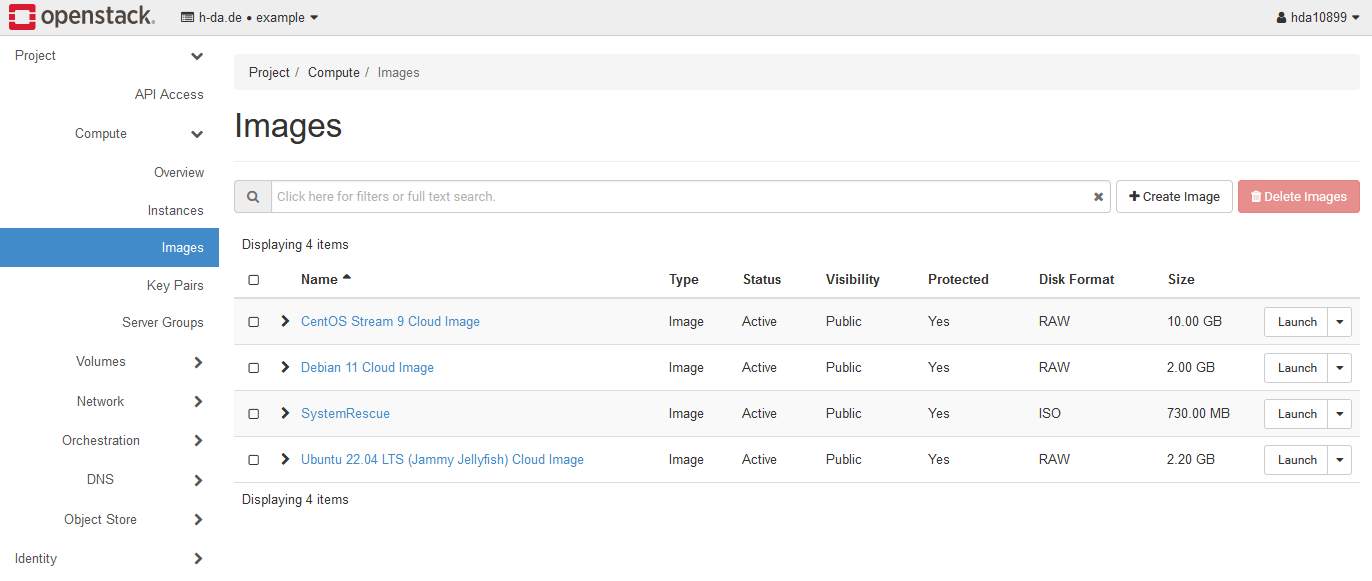
Click the +Create Image button to open the image creation dialog. Enter your image name
and choose your image file to upload.

Note
Please be aware that your images must support cloud-init for correct
instantiation. Cloud init is used to configure networking, users, ssh access and so on. Therefore,
images without support will not create functional instances.
Regarding image formats
We recommend converting your image to the raw format using tools like qemu-img before uploading it.
Raw images provide better performance compared to other image formats. This is due to the fact
that non-raw images will be copied and converted to raw upon instance creation resulting in slower
creation times.
Selecting a visibility
Lastly, select your image's visibility. OpenStack provides three visibility levels to users. Use the table below to choose your desired visibility level.
| Visibility | Definition |
|---|---|
Private |
Private images can only be seen by you in your project. Other users will not be able to create instances with your image. |
Shared |
Shared images, just like private images, are initially only visible to you. However, access for other projects may be granted. |
Community |
Community images can be used by everyone to launch instances with. However, they will not appear in the image list. They are solely visible when launching an instance. |
You do not need to specify the fields we did not talk about to create an image. Once your file is uploaded and you have selected a visibility you are good to go.