Windows Instances
Before creating a Windows instance, please read the chapter about instance creation. After getting familiar with the steps required to create an instance in OpenStack we can now dive into the differences when creating an Windows instance.
Creating Instances
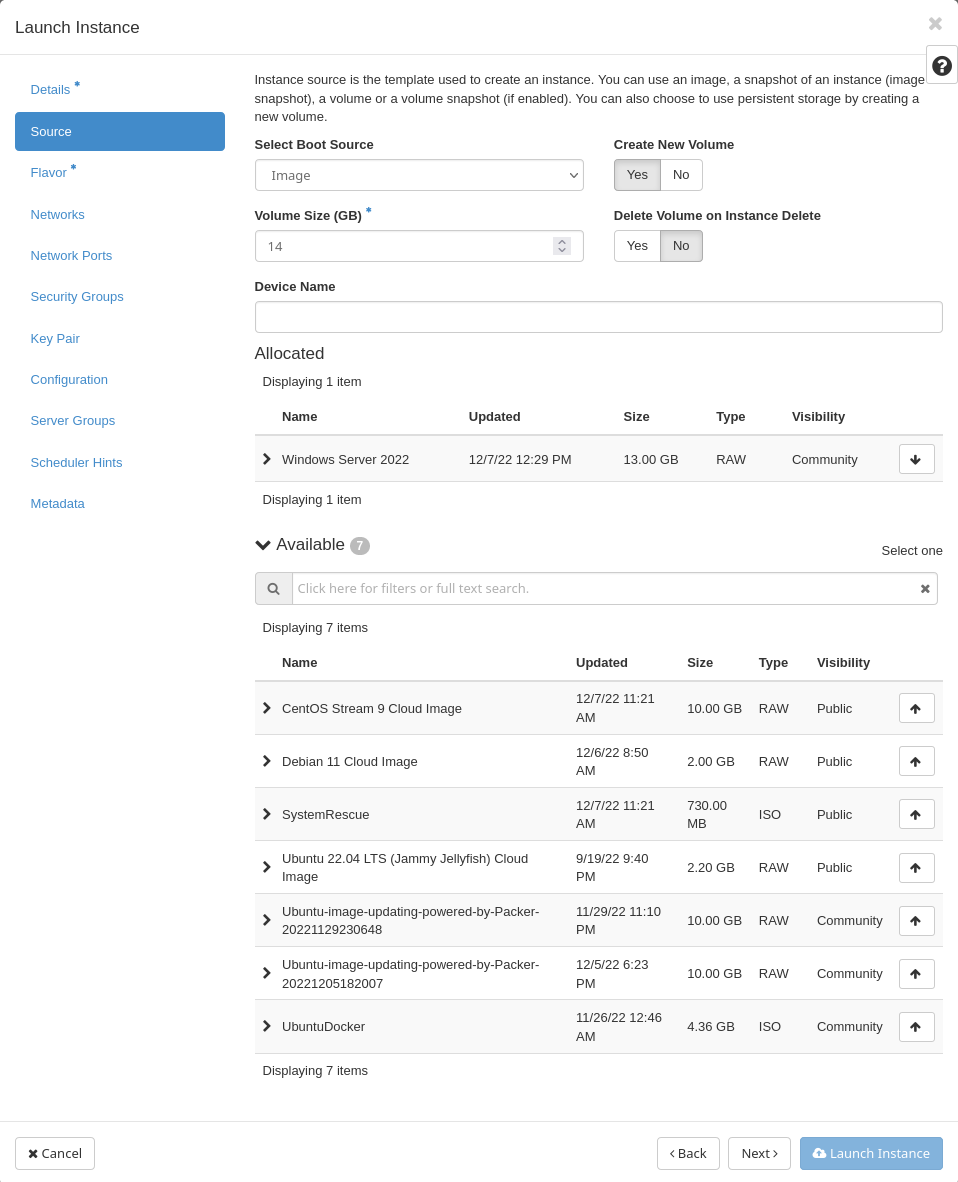
When creating the instance choose the Windows Server image as the instance source. Then, configure the instance to fit your requirements as described in the instance creation chapter.
Working with your Instance
Unlike other instance sources we cannot access our Windows instance using ssh. Instead of using the instance
ssh key to connect we use the key to return the password of the instance, which is generated during creation.
The OpenStack CLI only provides an outdated implementation to perform this operation. We therefore recommend a third party tool called nova-password.
Note
For nova-password to be able to connect to your instance you need to source a RC file first. This file
contains connection information for your project. Instructions on how to obtain and use a RC file are
described here.
Furthermore, for users running Windows on their systems we recommend you install a shell like bash on
your system to ease accessing OpenStack resources via CLI. An easy to obtain shell is bundled into
Git for Windows.
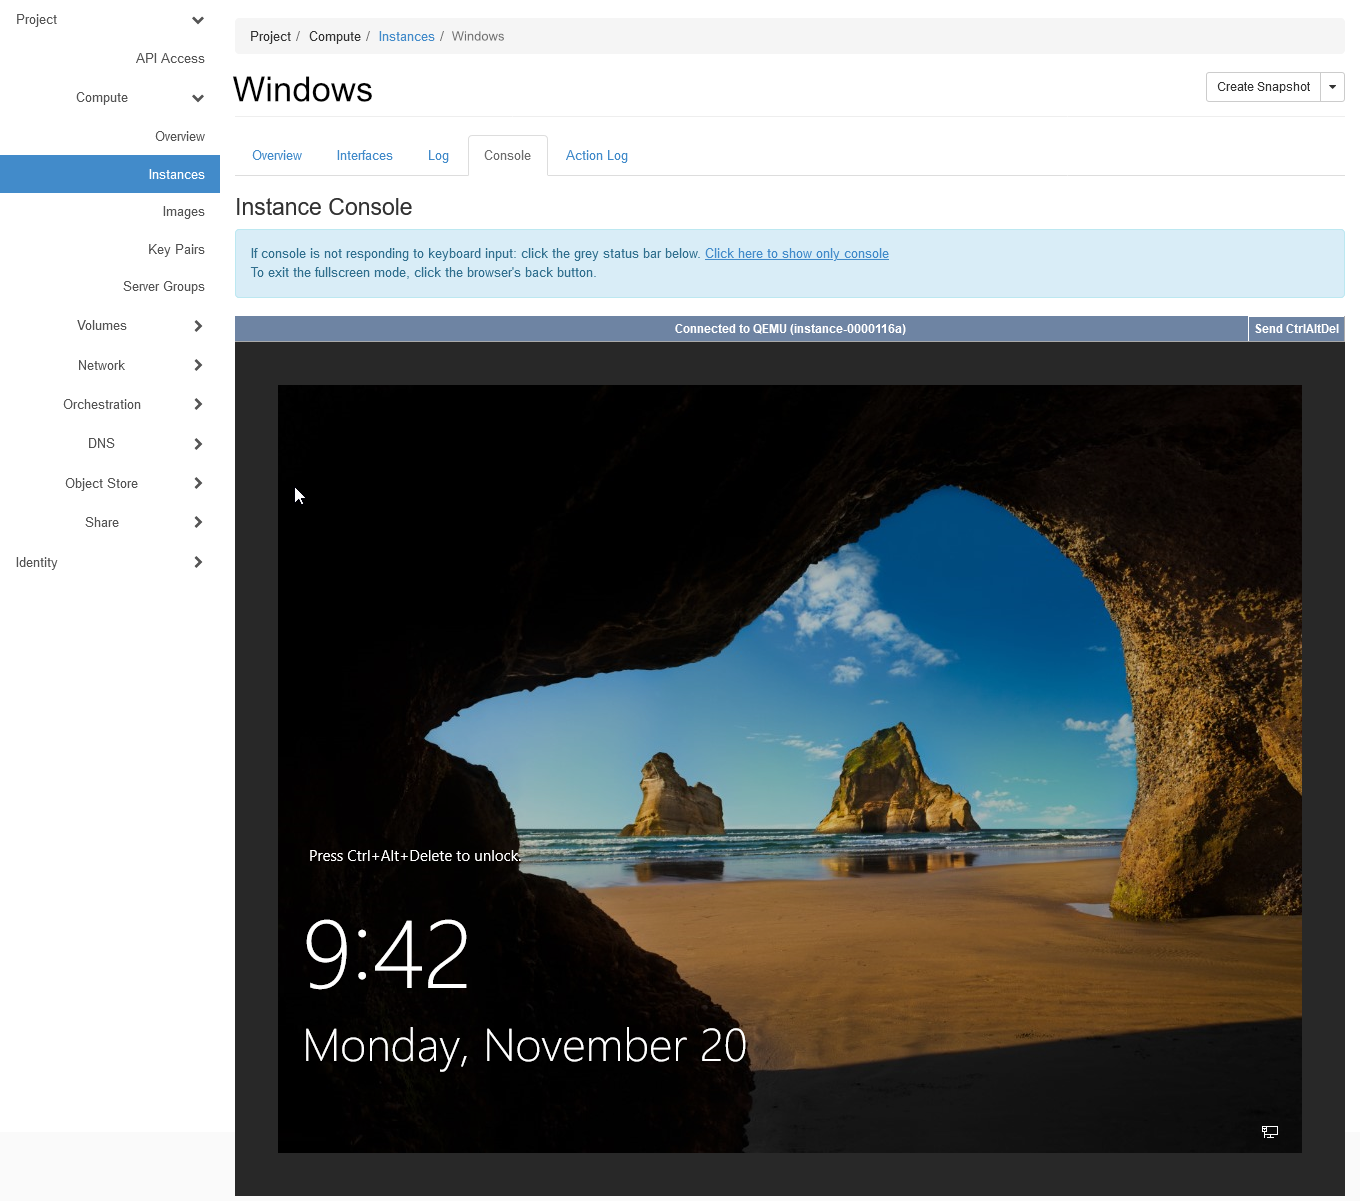
Having obtained the password, you can login via the instance's web console. This should be your first step to verify that RDP is enabled.
The instance's console can be accessed via the instance details on the dashboard.
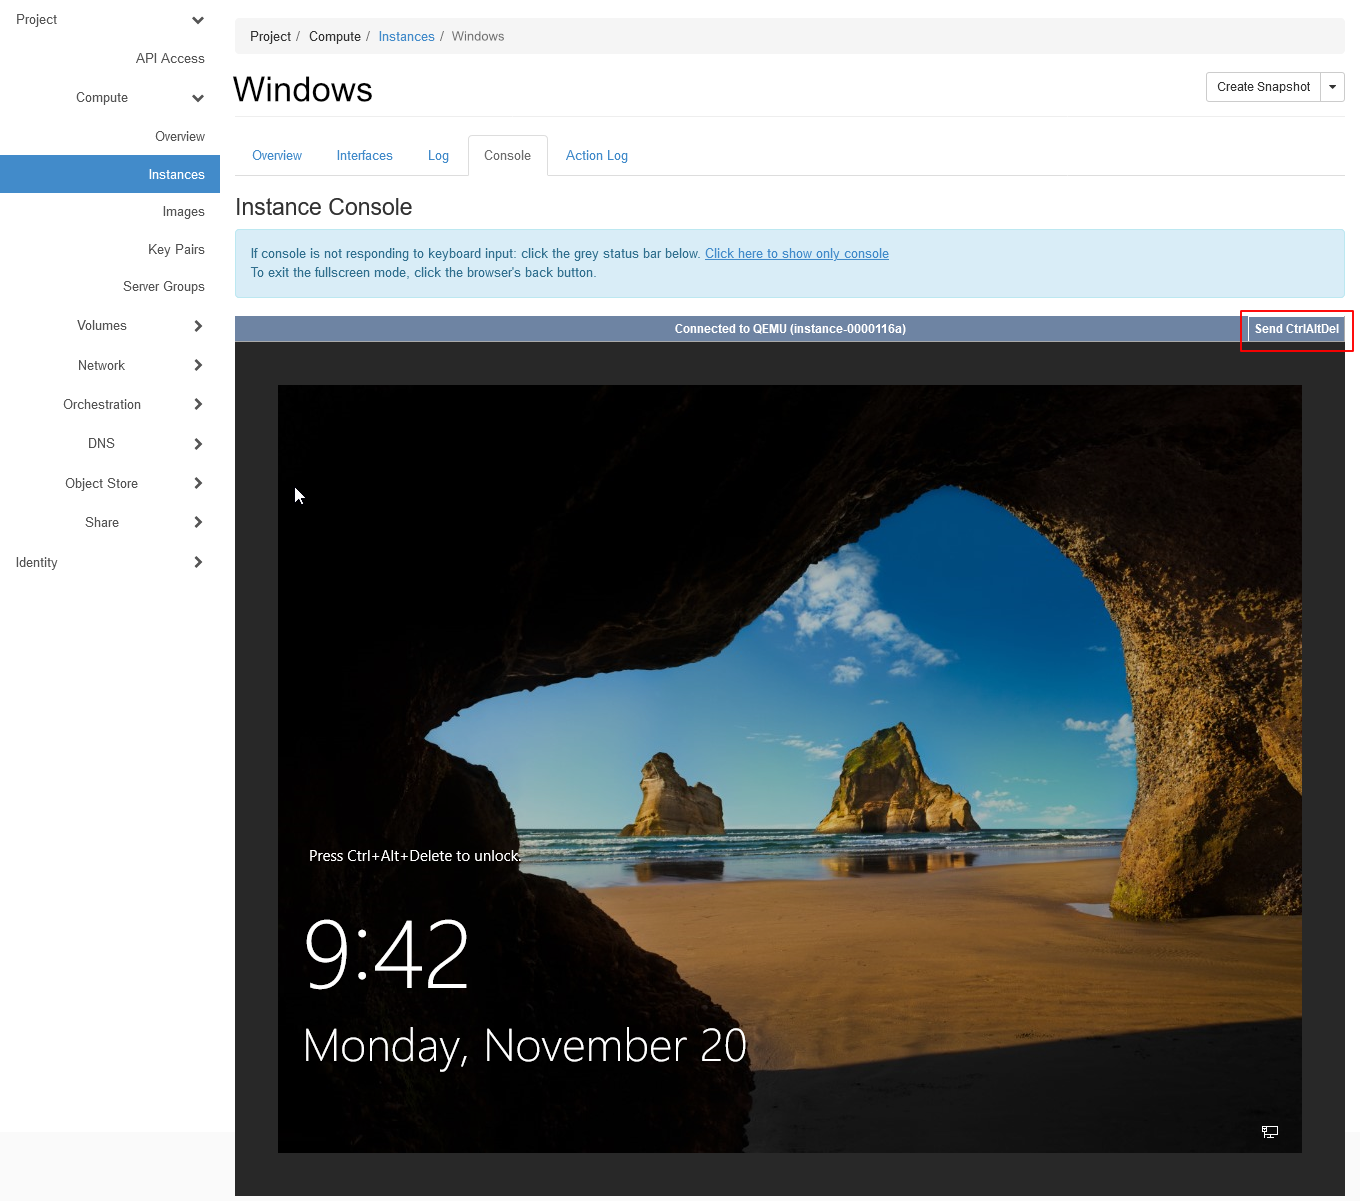
The be able to enter your login credentials you need to press Ctrl+Alt+Del. This can be done via the button in the top right corner.
Enter the credentials you obtained to gain access to your Windows instance.
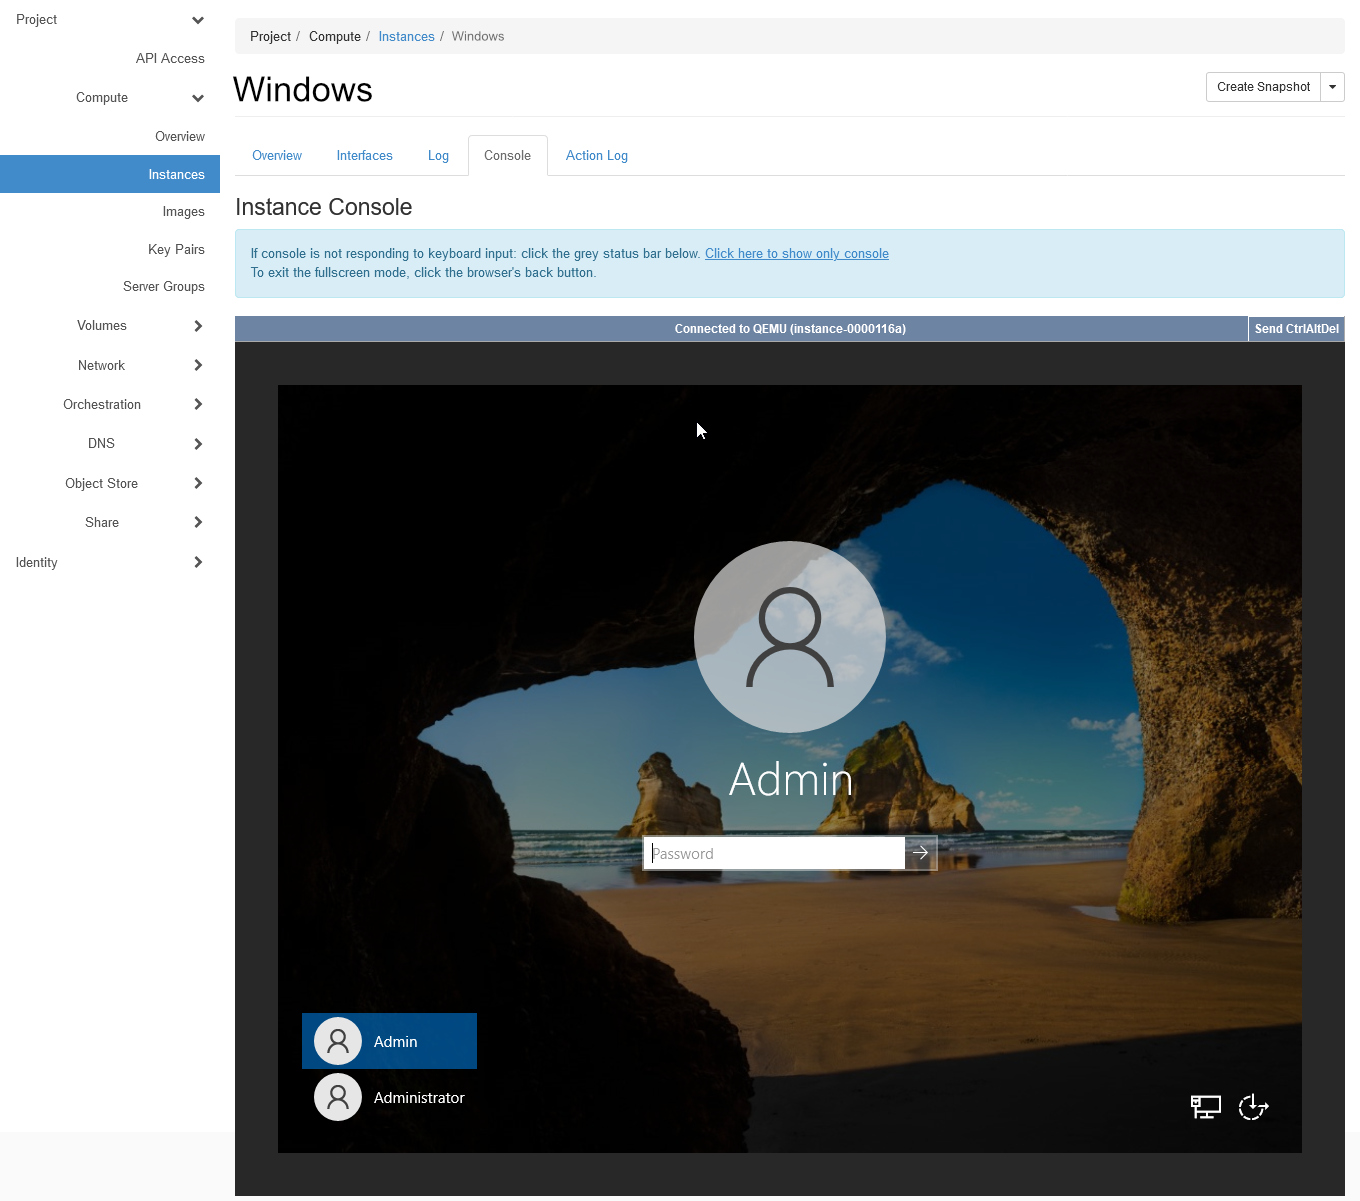
Warning
Use the Admin user NOT the Administrator.
Additional Steps
Tip
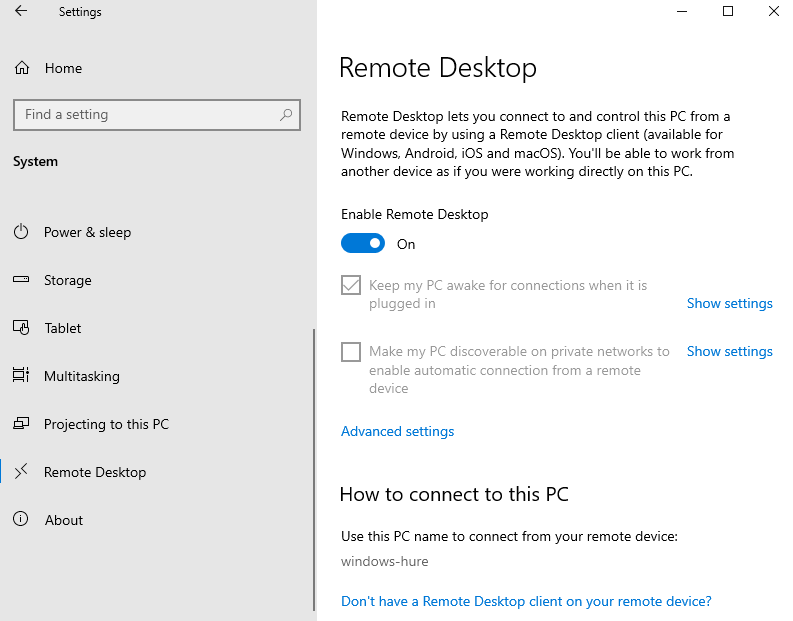
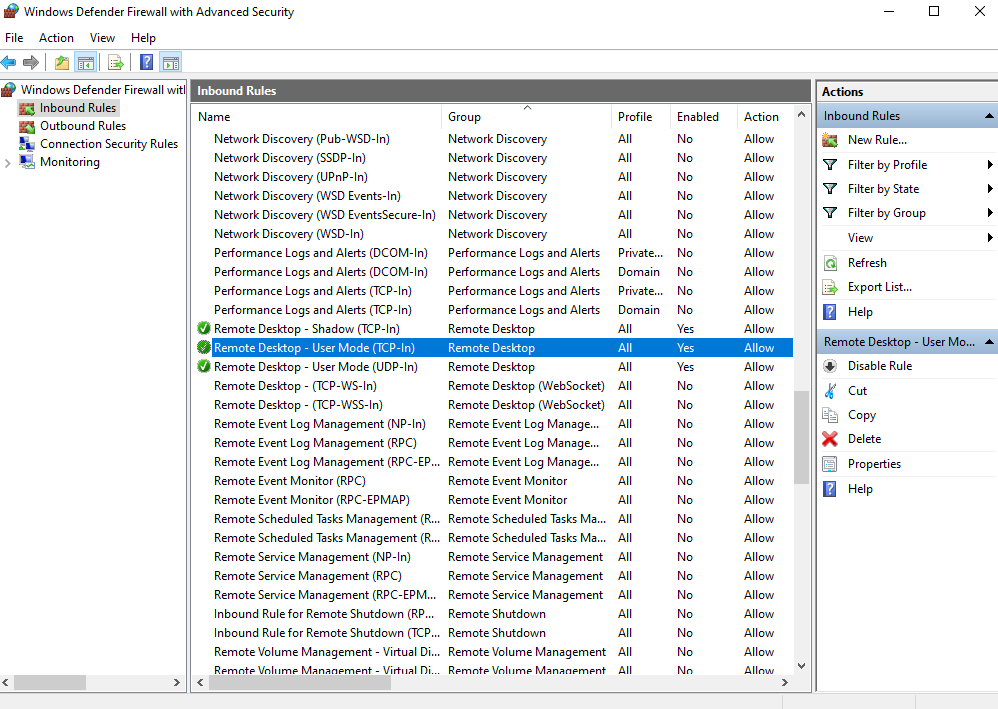
This should automatically be done, but if you cannot access your instance via RDP, verify that these settings are enabled.
After logging into the instance configure the rdp access.
First, ensure Remote Desktop is activated in the Windows settings and that the Windows firewall allows inbound rdp connections.
The last step is to create a security group that allows the rdp port (default 3389).
After this, connect to the instance using an rdp client.